Followers

Showing posts with label acrylic paints. Show all posts

Wednesday, September 23, 2020

Meet Mr. M.I.E. Therapy

 Well how's it going blogland? Are you all doing ok in your part of the world? This has been one crazy year...let's just keep looking up and hope things can get back to some sort of normal. 

Tonight, I'd like to share this years candy holder I made for Halloween, Mr. M.I.E. Therapy....get it...bwahaha...how fitting...I used multiple svg files from Simply Crafty...I'll list them below with links if you're interested in purchasing any....or go and gander through the store...she's got some awesome files to play with and great how to videos...Enjoy!!!

Simply Crafty SVG Files
WOW....there's a lot of files that I used...I guess I didn't realize it...and most of them are Halloween files to boot....lol...


I designed this so I could take it apart to store more easily....I'm thinking that I might add velcro to the legs and bottom of the base...it will make it more sturdy...

Well, there he is...our new candy holder for this year...I really love how the modeling paste and the glass beads adds so much more texture to the pumpkin body...Everything is hand painted with acrylic paints...I also added stones as weight to the legs and base, then added some newspaper inside to fill the gap...over time, the weight will cave the paper in, so I have learned over time to add the newspaper to fill that void....did that make sense? ...
************
I hope you all stay safe and healthy...hugs from a chilly Charm City...
 

Friday, July 10, 2020

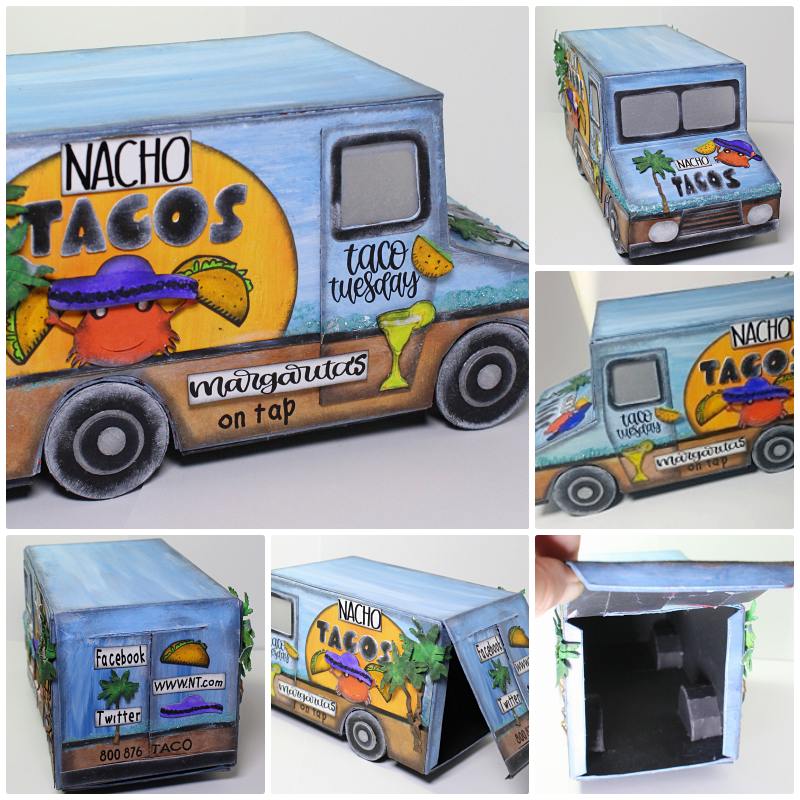
Nacho Tacos Gift Box

Hello there...today I'd like to share a gift box I made using the delivery truck from Simply Crafty SVG...who doesn't love margarita's and tacos....wish there was one here that drove around selling this like they do ice cream....right...lol...Enjoy!!!
Thanks for stopping by...enjoy your weekend....hugs from a very wet Charm City...

Tuesday, May 12, 2020

Topsy Turvy Cake Box

Hello everyone...how's things in your neck of the woods...not to bad here, just waiting for lock down to be over...
Today, I'd like to show you my little tug boat I made using the topsy turvy cake from Simply Crafty....I have to say that, this isn't what I had started to make...I was sitting there watching the video, and towards the end of it, one of the pics reminded me of a tug boat...so instead of making a girly cake, I made myself a tug boat....

I used the cake just like it was made except I used the icing for the waves...I doubled all layers...top layer I didn't cut the dash cuts...hand painted everything with acrylic paints and the doo dads were from Cricut Design.....Enjoy!!!!


Here's the new birthday set...and there's even a freebie....

Thanks for stopping...stay safe and healthy....hugs from Charm City....

Sunday, April 05, 2020

Easter Gift Boxes

Here's another set of Easter gift Boxes....these are from My Scrap Chick...the cross gift box.....Enjoy!!!


Sunday, February 09, 2020

Happy Valentine's Project 3- All in one gift

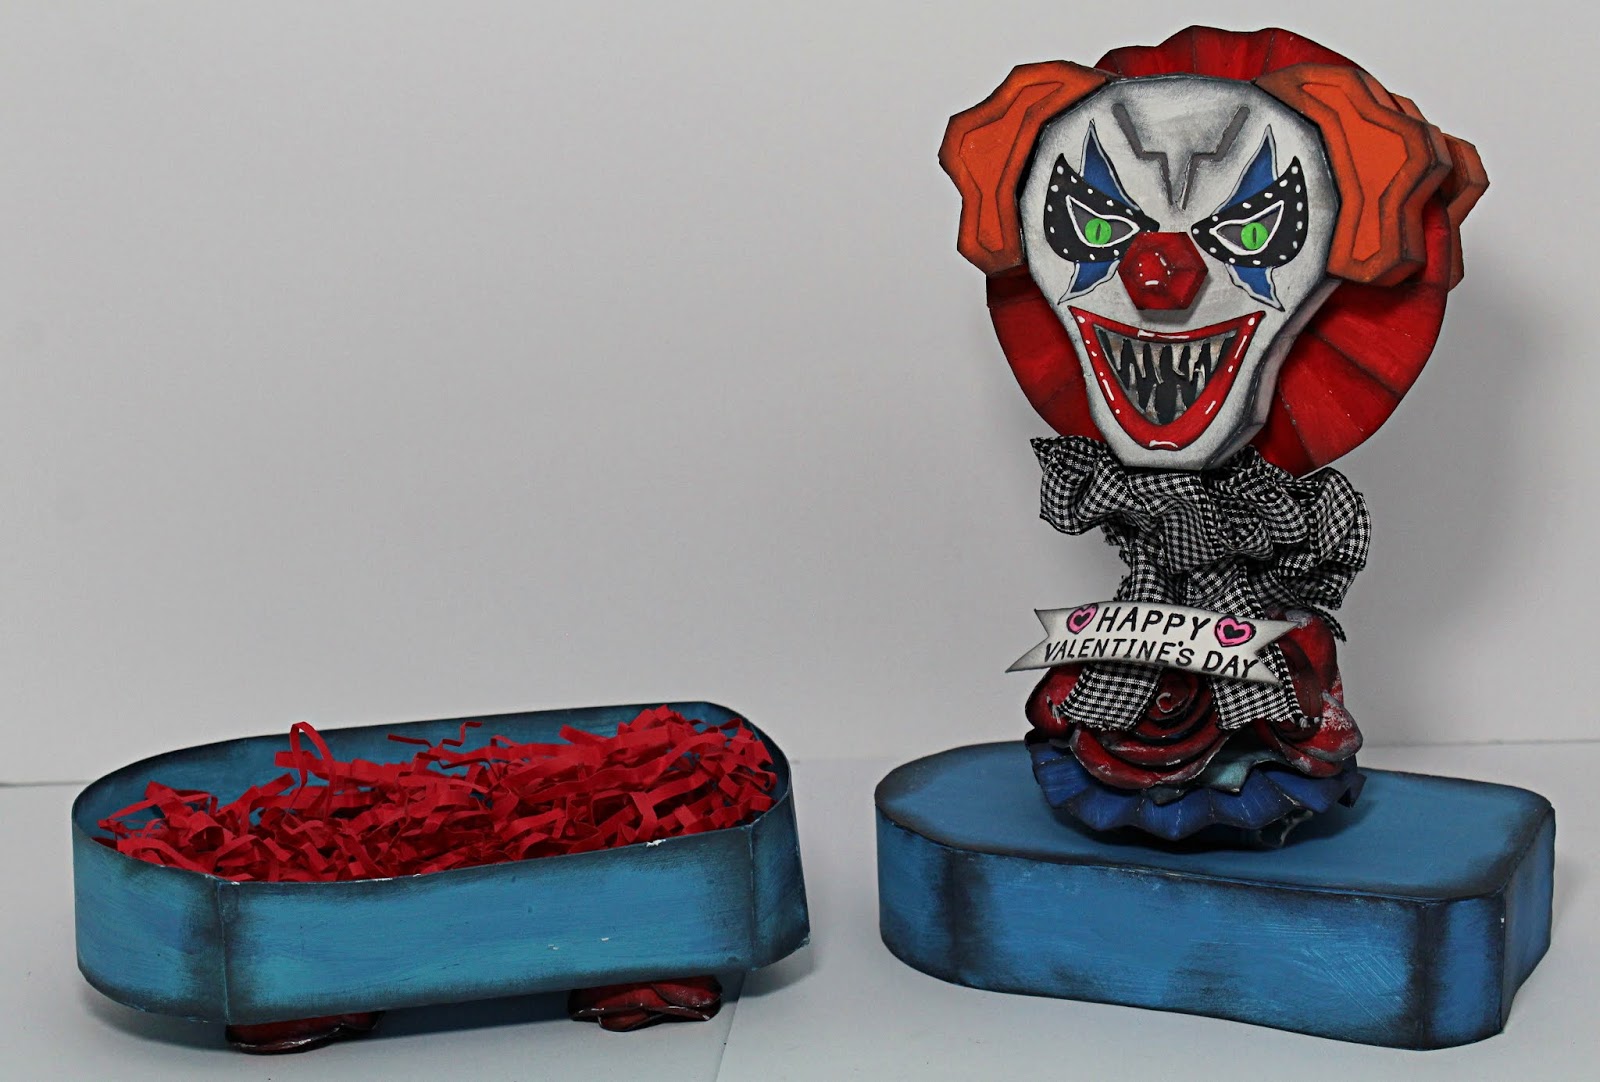
Here's the full project that I made...every year I like to try and come up with an all in one, kind of Valentine's Day gift...something that has flowers, chocolate, card and a place for a small gift....so this is this years project...Enjoy!!!

All cut files were from Simply Crafty except for the roses...those were from SVG Cuts...Sandy over at Simply Crafty is having a sale on her Valentine's files right now and I think today is her last day for the sale....
ok, here's my thought behind this....I wanted something different for this year...so I started with the UTV and the little wagon...one thing led to another and this is what I ended up with...I was thinking a double decker wagon...that was I could add the card inside one area and a gift inside the other...the card inside the bottom layer and the gift inside the top layer, or vise versa...

 
 Whach you lookin at, in my best Gary Coleman voice...ha ha...
honey, here I come....lol...
 2 places to store "CHOCOLATE"


this is double sided and lights up....

 This was idea number 2
 this was idea number one...


what I used to make the tag and envie.... I just cut a bottom to the wagon a few times (smaller then the wagon so it would fit inside) and glued together...
Well that's all I have for this project....I hope you enjoyed my all in one Valentine's gift for this year....hope you all have a wonderful week and make sure to stop back...I have some other projects that I made for the teachers and classmates at Miss Ava's school....hugs from a chilly Charm City...